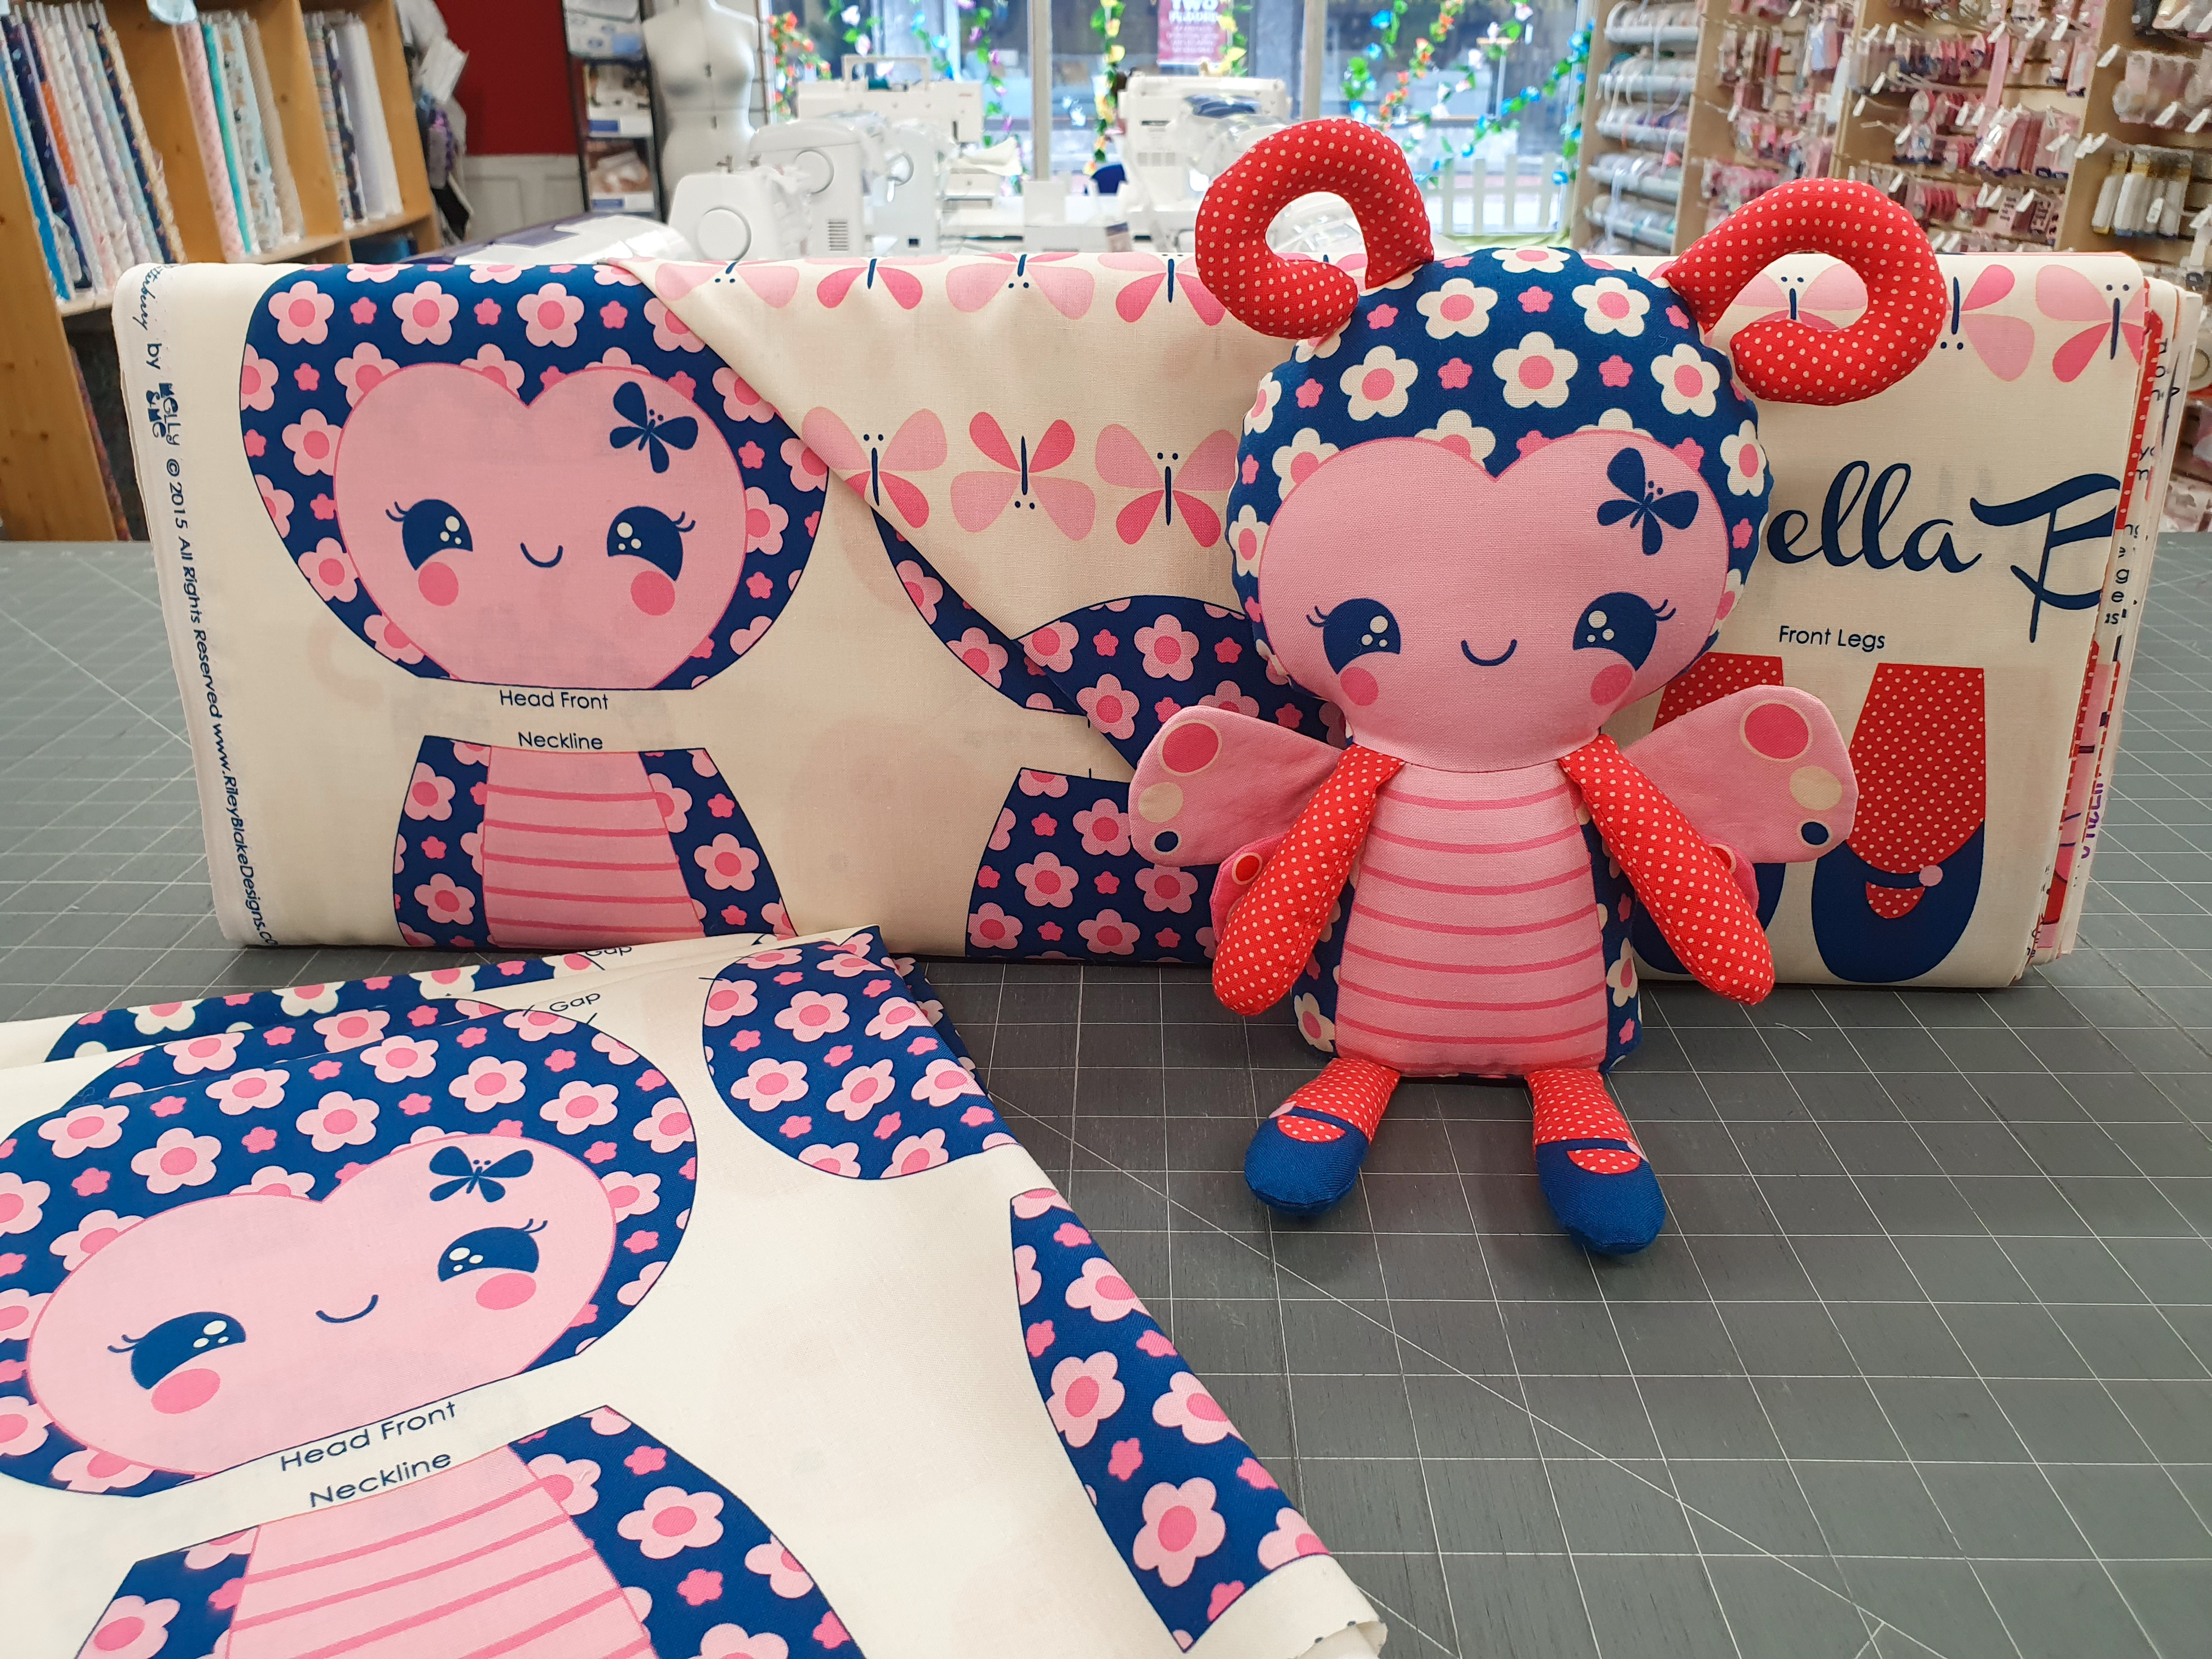
Bella Butterfly

The completed size of this project is approximately 12 ½” tall.
Please read all instructions before sewing to avoid any surprises.
You will need:
- Bella Butterfly Panel (H173162)
- Toy Filling
- 6” x 6” piece of lightweight fusible fleece
- Standard sewing supplies
Preparation
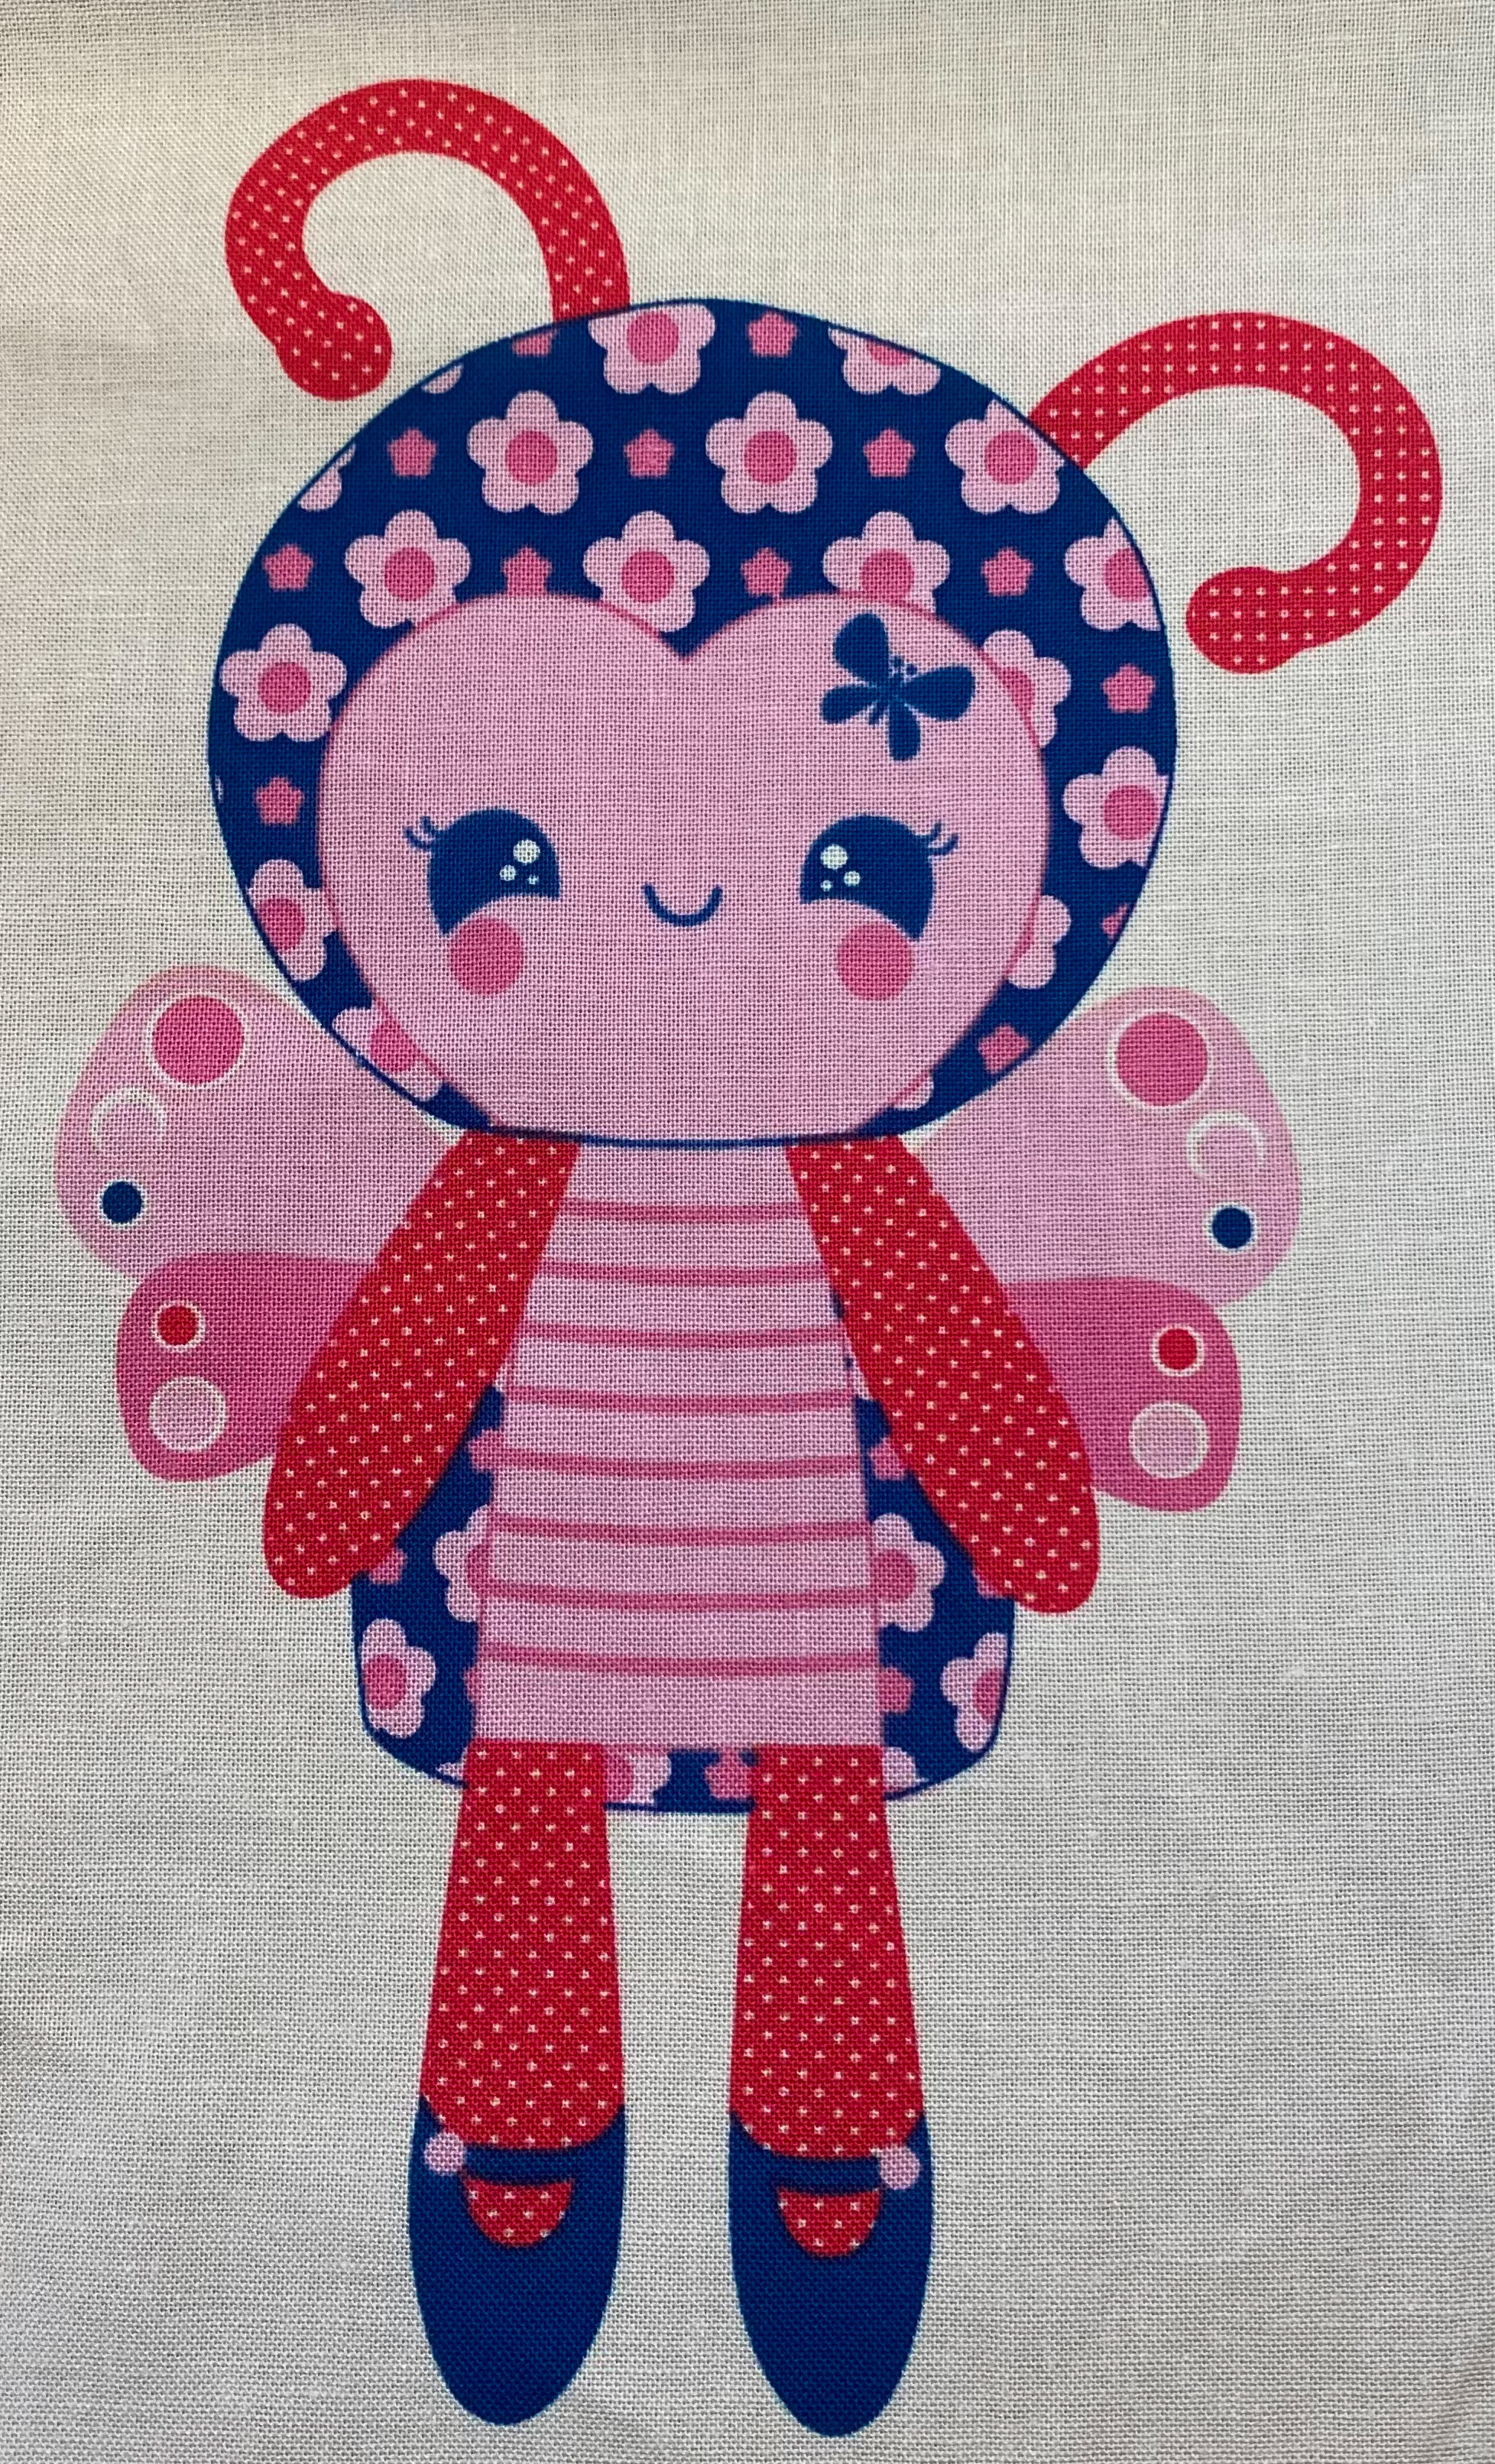
1. Cut out all of your Bella Butterfly pieces from this fabric panel. Please cut the pieces out directly along the outside lines.
2. Using your fusible fleece, interface your four front wing pieces.
Construction
Please note ¼” seam allowance is included in all pieces.
For added strength use polyester thread and a small stitch length of 1.5 for all toy sewing.
1. Take your upper wing pieces. Place one upper wing piece with interfacing and one without interfacing on top of each other, right sides together. Sew the upper wing together all the way along the curved edges, leaving the straight end open for turning. Turn the wing right side out and press well.
2. Repeat step 1 with your remaining two upper wing pieces and then repeat again with your lower wing pieces so that you have two upper and two lower wings.
3. Take two of your arm pieces and place these on top of each other, right sides together. Sew the arms together all the way along the curved edges, leaving the straight end open for turning. Turn right side out.
4. Repeat step 3 with your two remaining arm pieces and then repeat again with all of your leg pieces so that you have two arms and two legs.
5. Stuff both arms and both legs with your toy filling leaving the top ¾” of each arm and leg unstuffed. Tack the top raw edges of each arm and leg to secure.
6. Take two of your antenna pieces and place these on top of each other, right sides together. Pin in place. Sew the antenna together all the way along the curved edges, leaving the straight end open for turning. Turn right side out.
7. Repeat step 6 with your two remaining antenna pieces. Stuff both antennae with your toy filling and then tack the raw ends to secure.
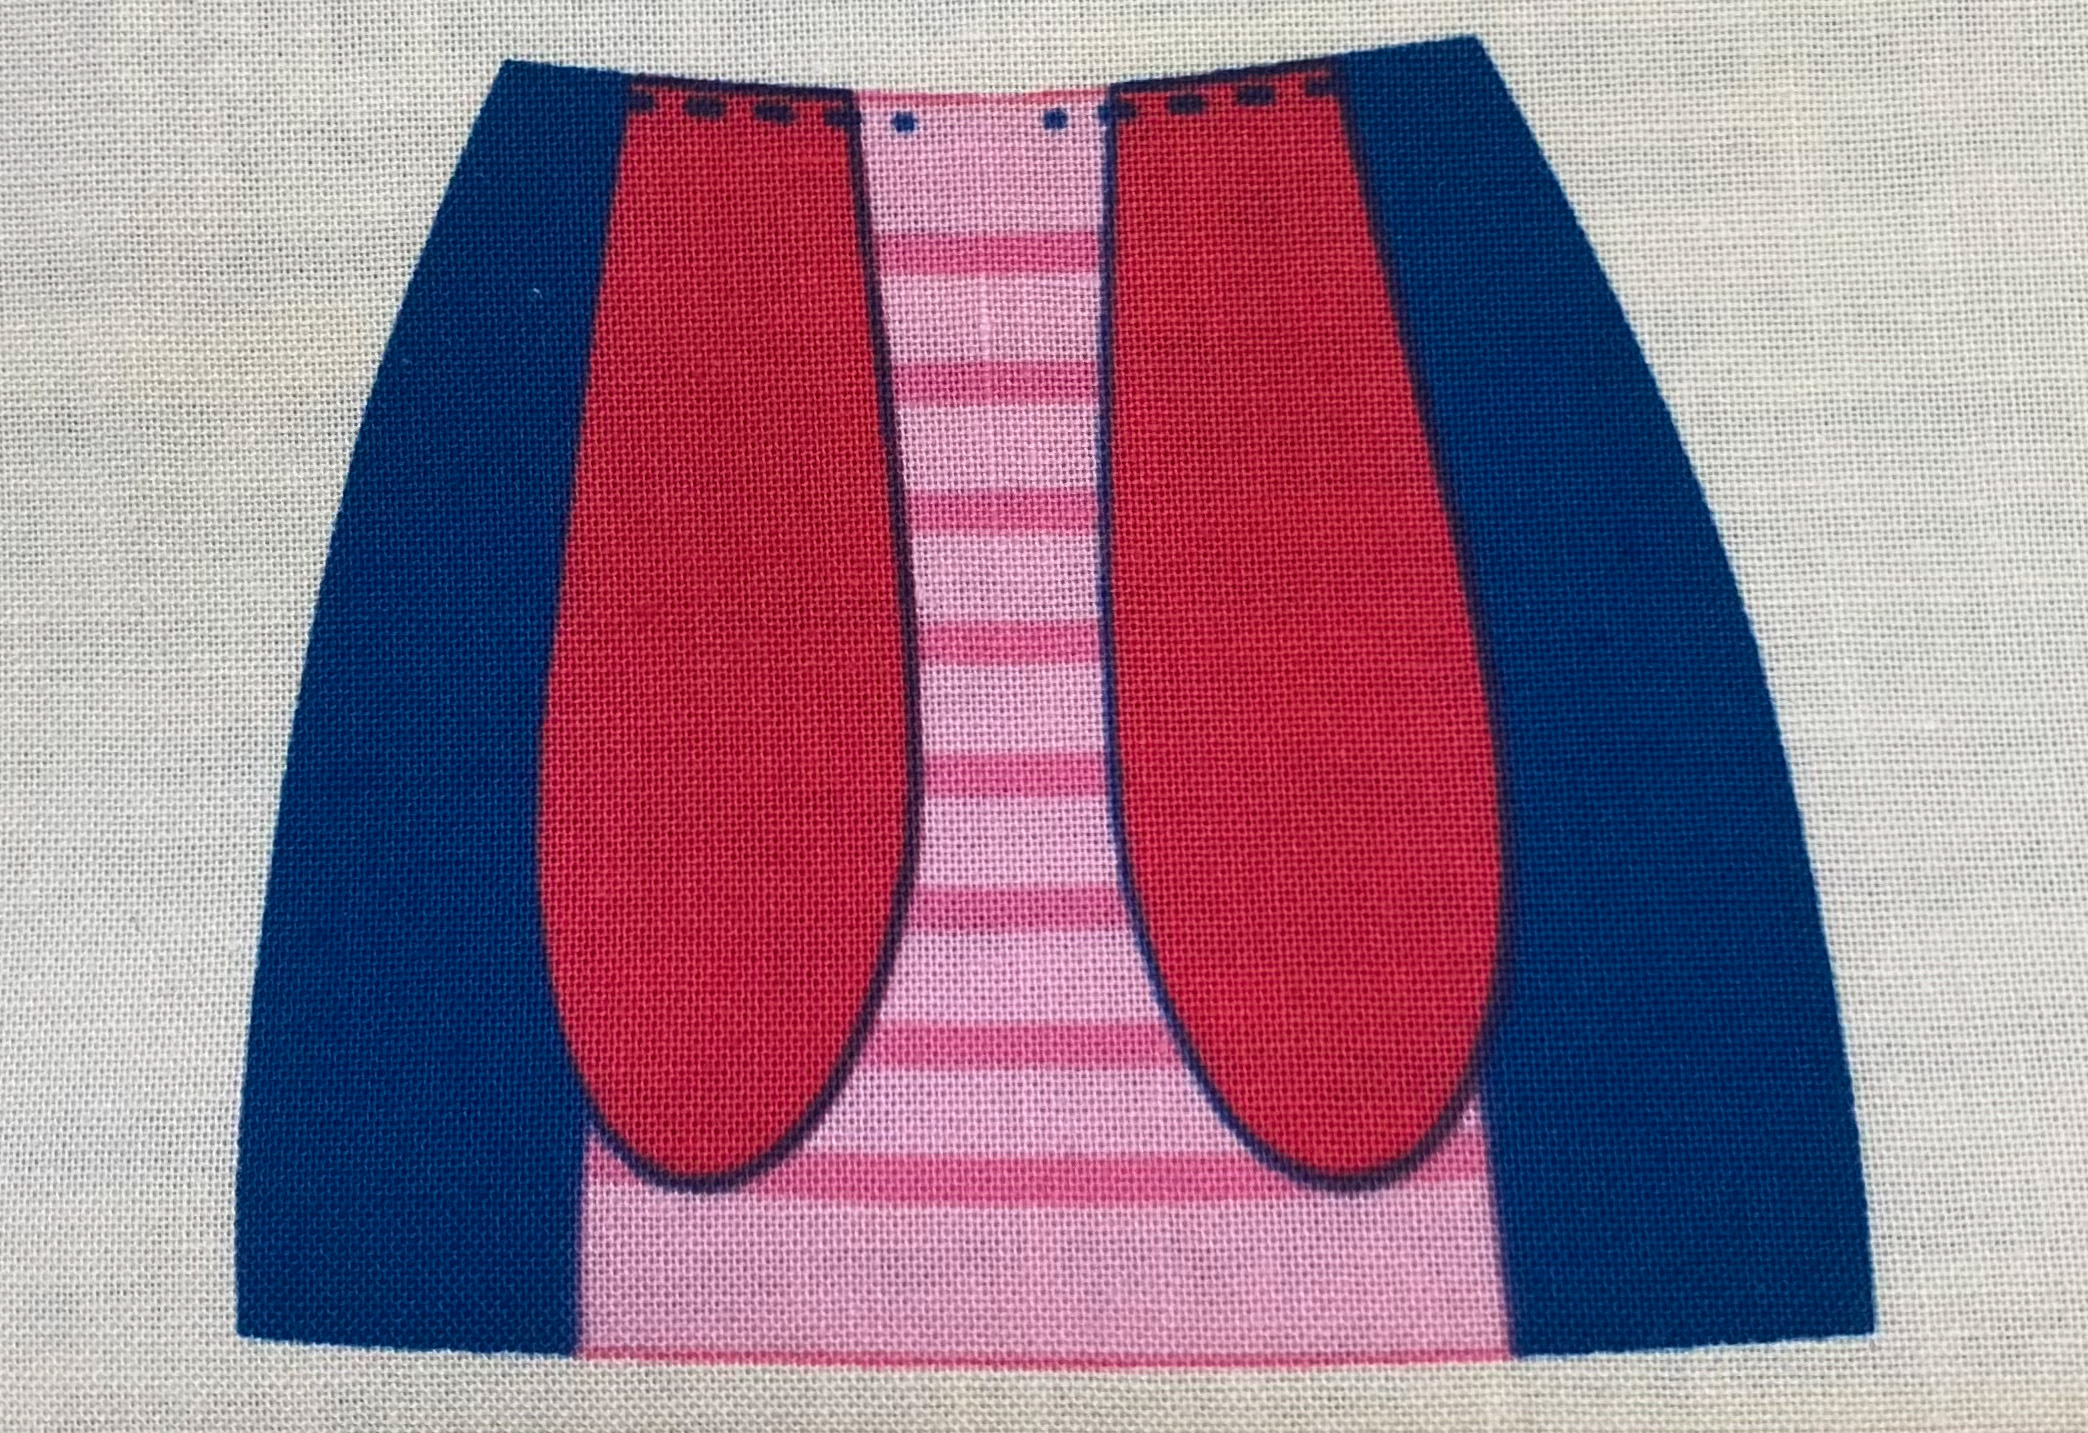
8. Take your body front piece and your two arms. Place the arms on top of the body front neckline, right sides up. Position the arms approximately ½” – ¾” from the side edges. Machine tack into place as per the following diagram.

9. Take your body front piece with arms and your head front piece and place these on top of each other, right sides together. Tack or pin and then sew the two pieces together centrally along the neckline, easing the curve of the body to the curve of the head neckline.
10. Repeat step 9 with your body back and your head back pieces, this time leaving the central gap as indicated by the small lines for turning and stuffing your toy. Place aside for now.
11. Take your butterfly front and your four wings. Place the butterfly right side up on your work surface and then position the wings on top of this right sides together, so that the straight edges of the wings meet the raw side edge of the body. First place the lower wings and then the upper wings so that they overlap by approx. ¼”. Machine tack into place as per the following diagram.

12. Take your butterfly front and your butterfly back and place these on top of each other, right sides together. Sew the butterfly together along the sides of the body and around the head, leaving the bottom edge of the body and the antenna gaps on the head open as marked. You will be capturing the wings in this sewing. Carefully snip the seams at each side of the neckline. Keep body inside out.
13. Take your body and insert one of the antennae into the head, guiding the raw end to one of the antenna gaps. Insert the antenna into the gap so that the raw tacked end of the antenna meets the raw edge of the head gap. Please ensure that the curve of this antenna is facing to the side of the head. Following the line of sewing on the head, sew the antenna into place. Repeat this with the other antenna in the remaining gap.
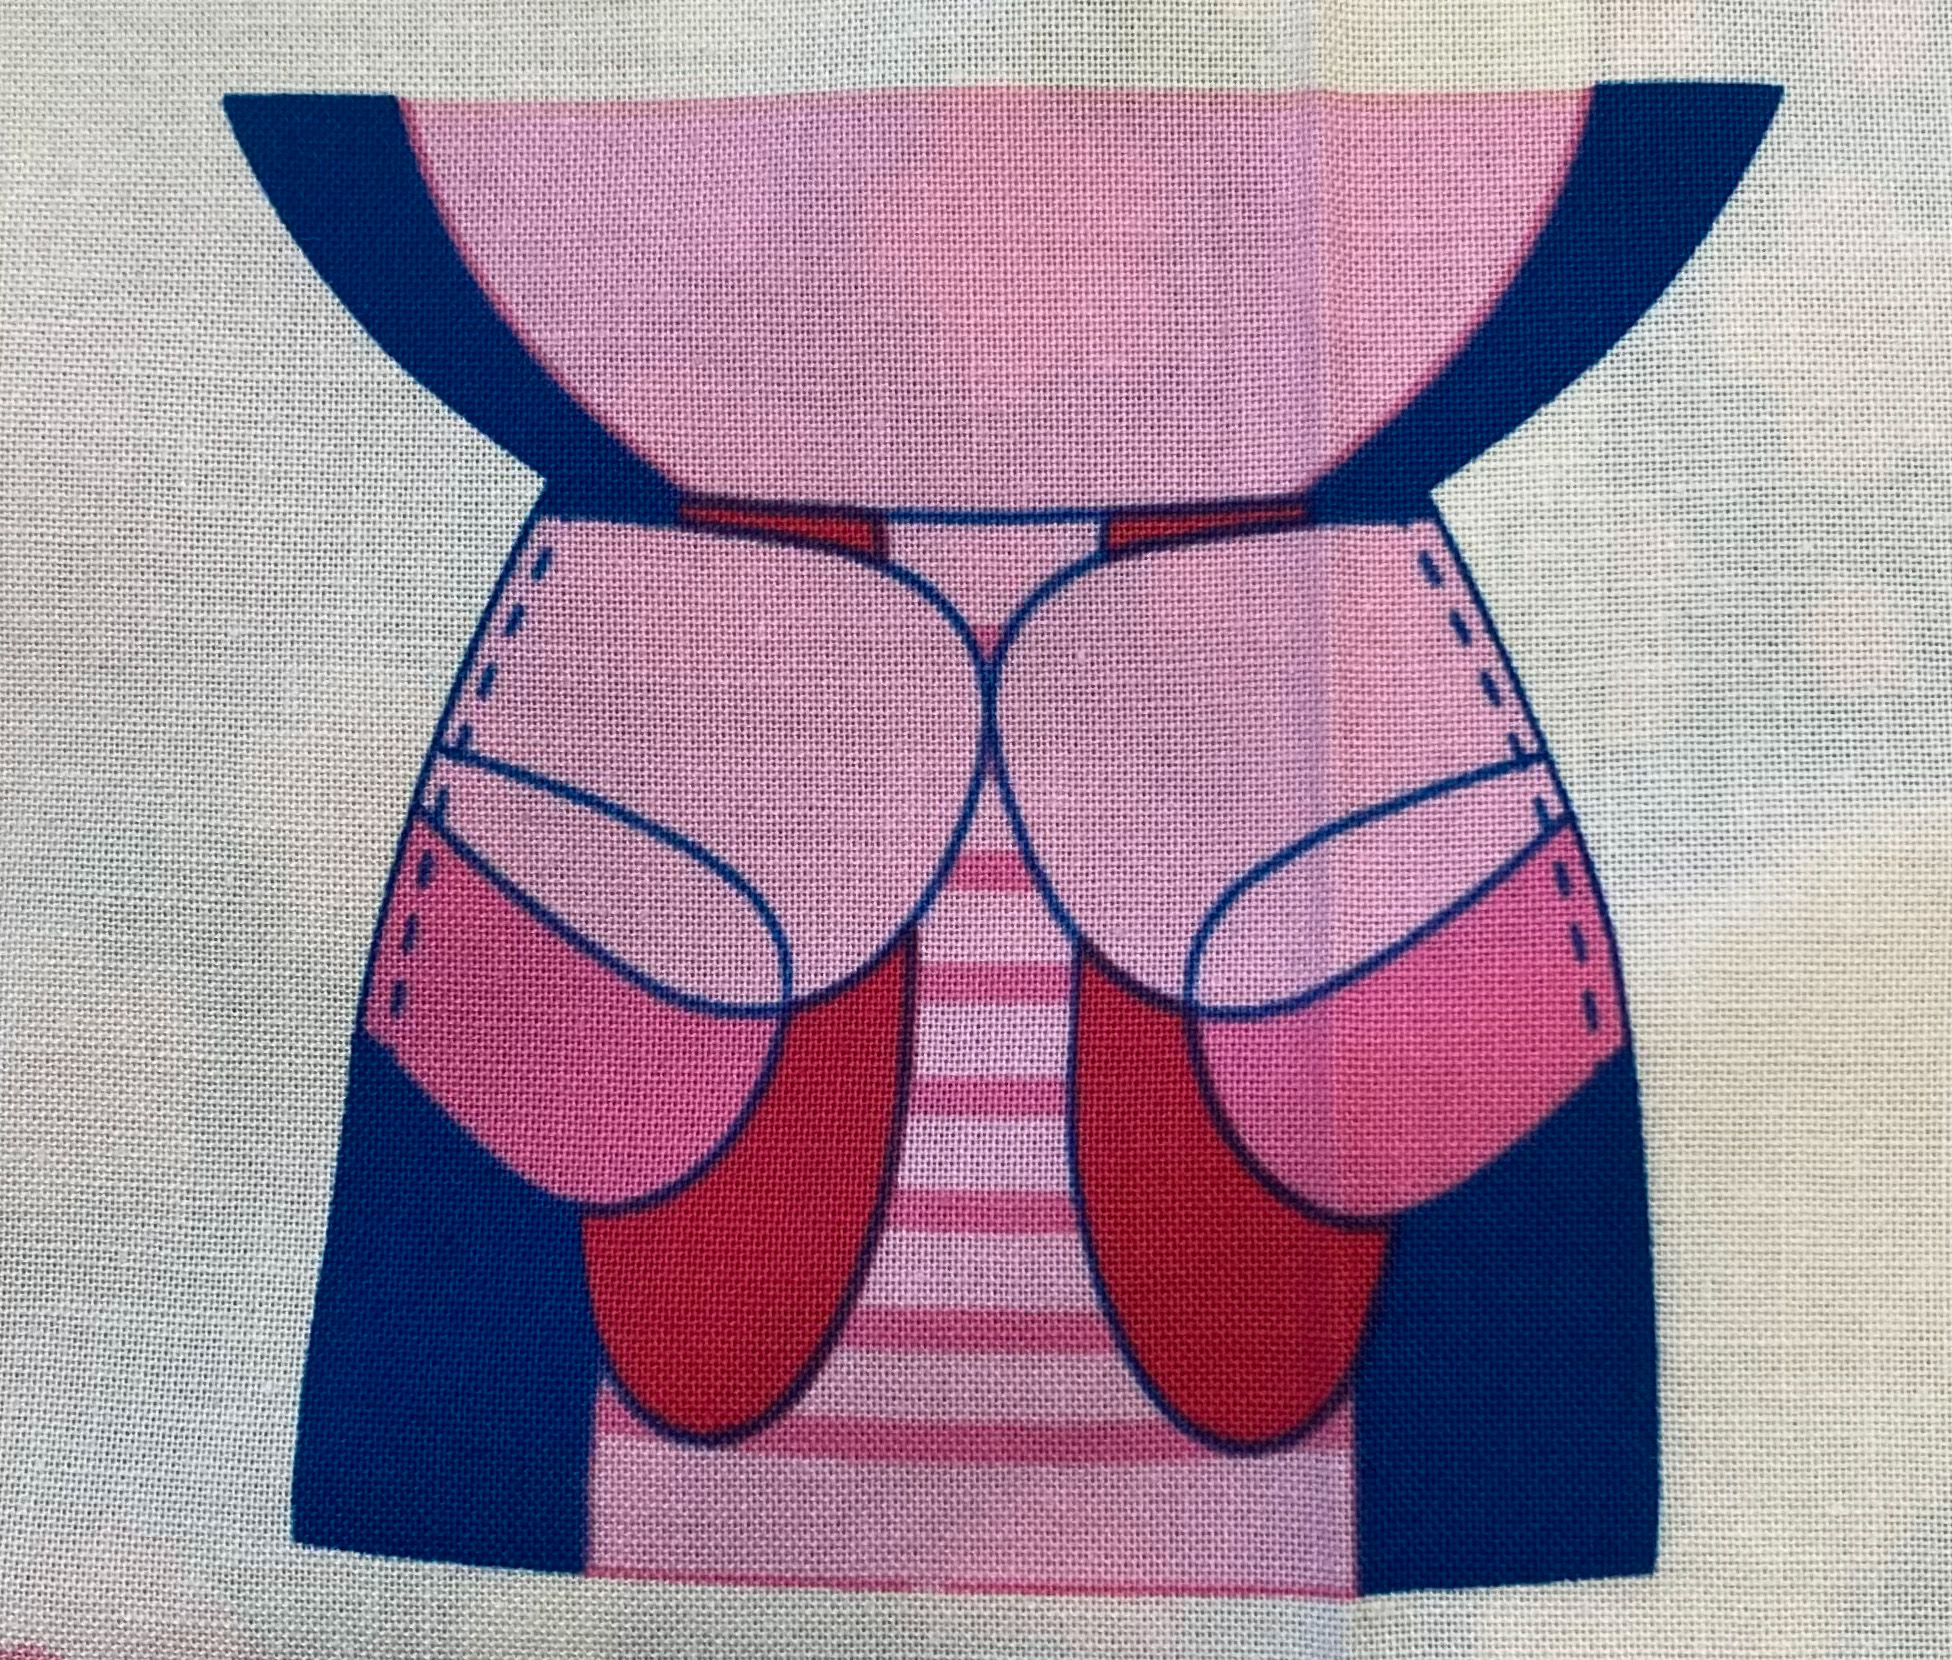
14. With the body remaining inside out, now position the legs onto the bottom edge of the body front, right sides together. Match the raw edge of the legs up with the raw edge of the body front so that the legs start at the tummy patch edge (Refer to the below picture for positioning). Machine tack in place to the body front only.

15. Take your body base piece and ease this into position, right sides together, evenly along the bottom raw edge of the butterfly’s body (still inside out). This may be easiest to do by marking the quarter points on your base and body and then matching these up. It is essential to tack or pin well. When you are happy with the fit you can sew the body base into place. It will help to rotate and smooth the body constantly as you sew to ensure there is no puckering.
16. Turn your toy right side out through the gap in the neckline of the body back.
17. Stuff the butterfly firmly with toy filling and then ladder stitch the turning gap closed. As you are sewing the gap you may want to stuff a little more as you go to ensure a smoothly stuffed edge.
Now your Bella Butterfly is ready to be cuddled and enjoyed!
Toy and cushion filling / stuffing
- Price incl. VAT
- £4.99
Hemline Gold Sharps Hand Needles
- Price incl. VAT
- £2.39
Fiskars Classic Pinking Shears-23cm
- Price incl. VAT
- £42.00
.png?mode=v)
.png?mode=v)
.jpg?mode=v)
.jpg?mode=v)